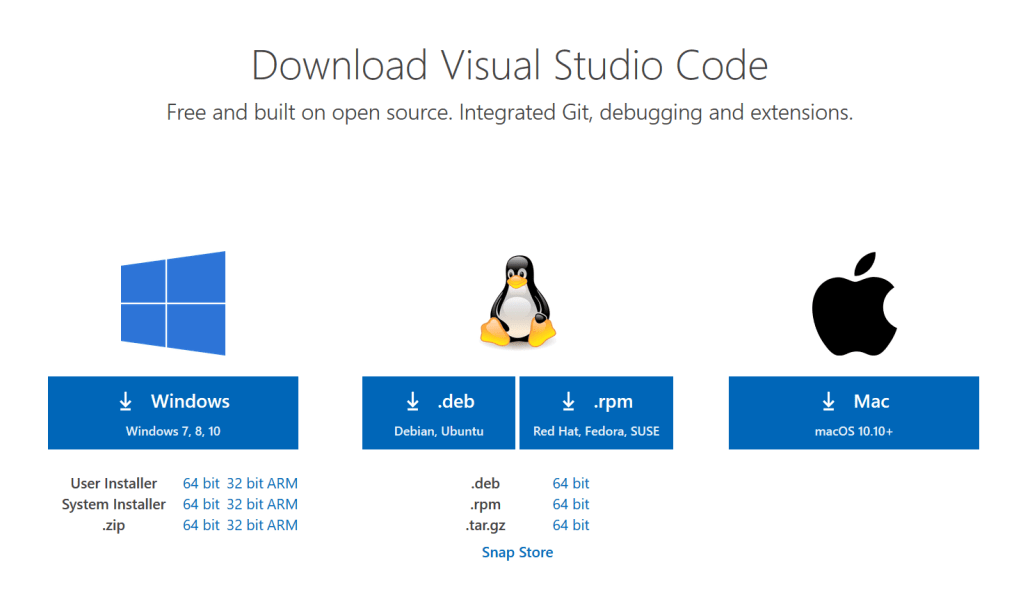
Download And Install VsCode
Download vscode (Visual Studio Code) from here and install on your computer. Follow setup instructions will installation.
2. Install Salesforce DX CLI
To connect the VsCode with Salesforce org we need SalesforceDX CLI. Download the Salesforce CLI from here.
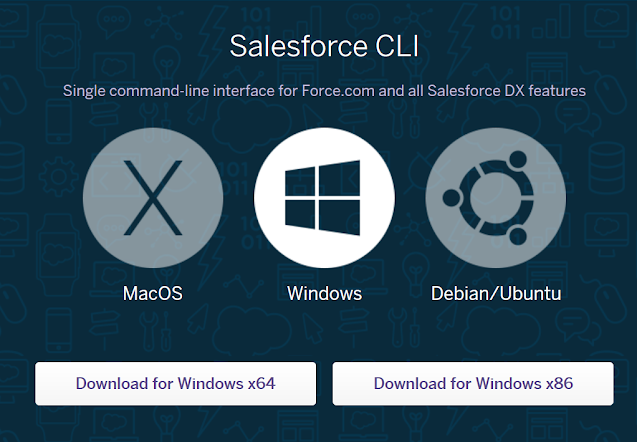
Once Salesforce CLI is installed. You can validate the same with sfdx command on command line terminal. Check this post if you want to learn more about Salesforce CLI
3. Install Salesforce Extension Pack For Visual Studio Code
We are almost there. Open your VsCode and Click on Extensions icon on left hand side or press CTRL+SHIFT+X. Then Search for “Salesforce Extension Pack” and click on install button
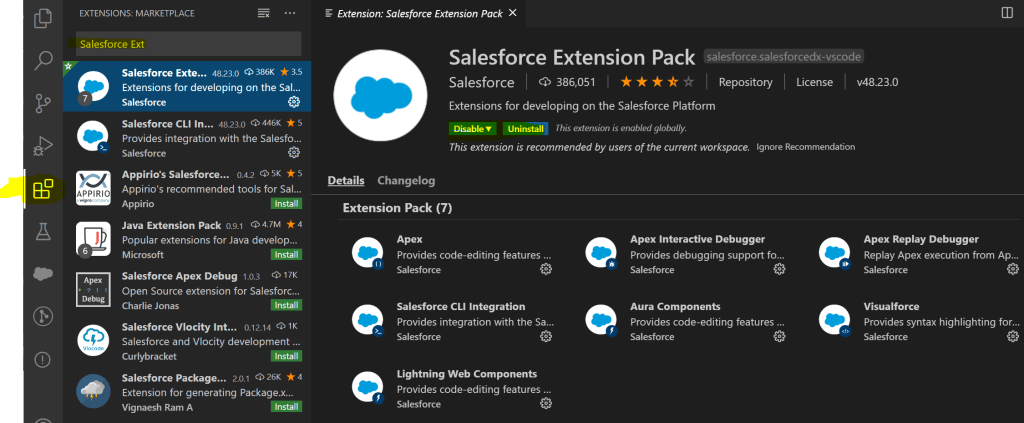
With Salesforce Extension pack all below extension will install automatically.
Apex
Salesforce CLI Integration
Apex Interactive Debugger
Apex Replay Debugger
Visualforce
Aura Components
Lightning Web Component
Check Top 10 Vs Code Extensions that can make your life easy for day-to-day development.
4. Create Salesforce DX Project
Congratulation. Till this step your software setup is completed. Now its time to create your first project in VsCode. To Create the project open Command Palette or press Ctrl + Shit + P. Then type SFDX: Create Project with Manifest .
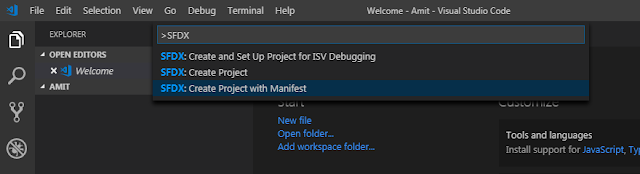
SFDX: Create Project with Manifest
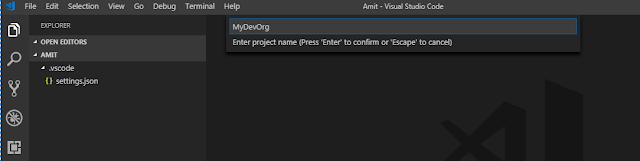
Then provide your project name and select location where you want to save your project.
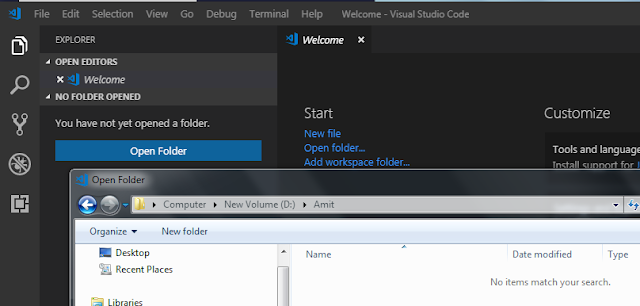
Till this point you will able to see blank folder structure in VsCode. Let see how we can connect our VsCode with Salesforce
5. Connect With Your Salesforce Org : Authorize An Org
Our project is ready on our local machine, Its time to connect our VsCode with Salesforce. Again open Command Palette or press Ctrl + Shit + P. This time we need to type or Select “SFDX: Authorize an Org“.

SFDX: Authorize an Org
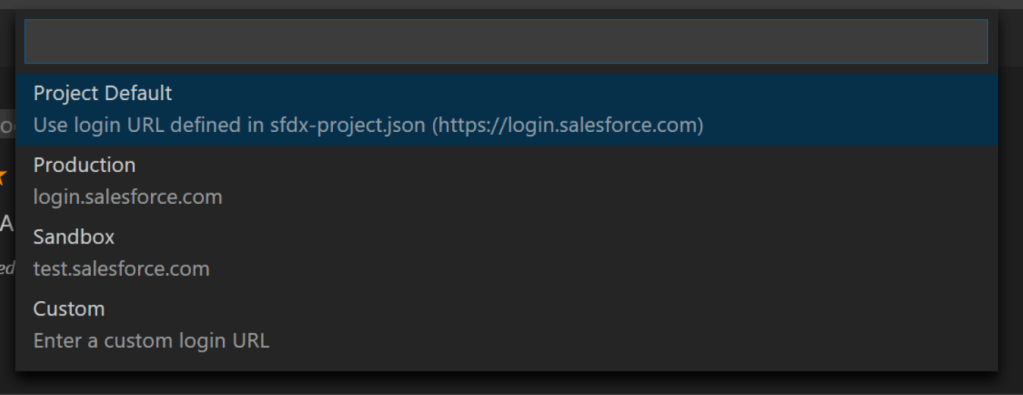
Then it will ask you which environment we need to connect to
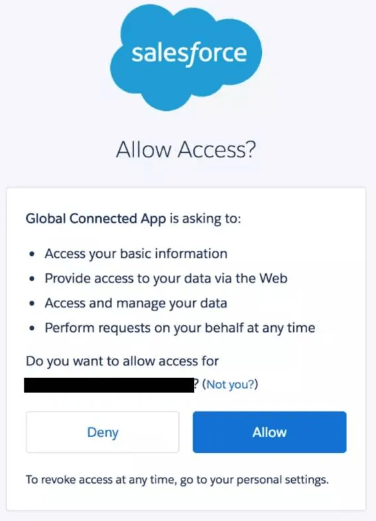
In the last step you need to provide the org alias name. Then it will take you to your default browser and ask you for org credentials. If prompted to allow access, click Allow
Till this point your Salesforce org is connected with VsCode. Now its time for Development. You can also use command line interface for same.
6. Retrieve Component From Salesforce Org Using VsCode
Now you want to extract all your Salesforce component in your VsCode? Open Package.xml file from Manifest folder. Then Modify your Package.xml file to add and remove component. Finally Click on Package.xml and select “SFDX: Retrieve This Source from Org” option
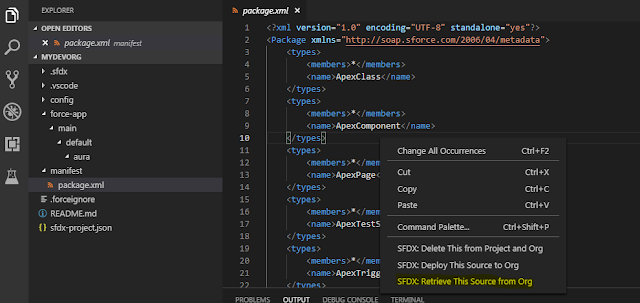
SFDX: Retrieve This Source from Org
It’ll retrieve all the metadata from your org which is specified in your package.xml file
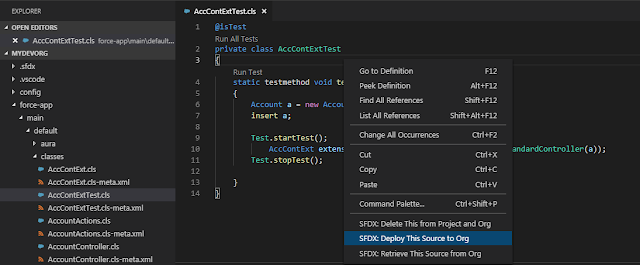
7. Deploy Component Using Visual Studio Code
Open any file and work on your component. If you want to learn about how to create Lightning Web Component then check this post. Now do your changes in VSCode and then select the file which you want to deploy in your org. Then Right click on VsCode and select the “SFDC: Deploy This Source to Org” option for deployment.
How To Setup Visual Studio Code For Salesforce Video
Learn how to set up Visual Studio Code for Salesforce and how to use vs code for creating a project with non-Scratch Org. We will also learn Execute Test Class, Execute Code, SOQL, and Debug log in VsCode.